Sign up now to join the JEGS email newsletter and be the first to learn about new products, special deals and e-mail only offers!


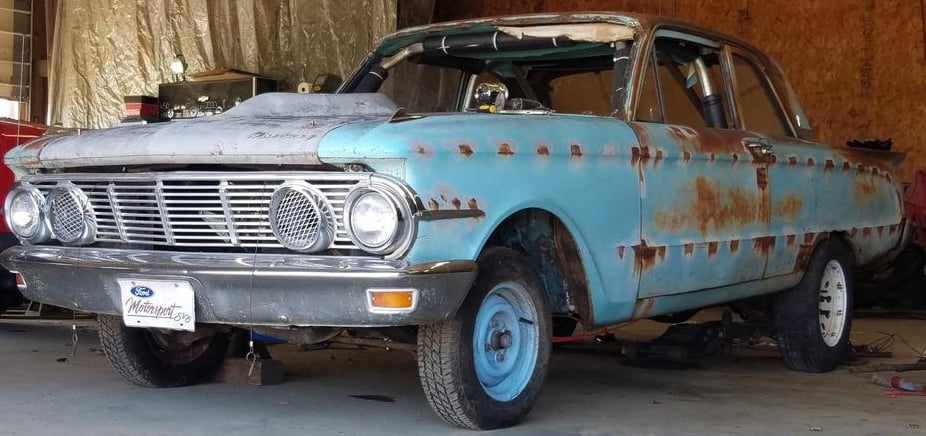
If you're the proud owner of a vintage automobile, then you've likely had a run-in or two with rust. Vintage cars are often more prone to corrosion for several reasons.
For starters, it wasn't until the 1970s that exterior paint began having rust-inhibiting basecoats or UV protection. What's more, galvanized steel wasn't used in automotive until the 1980s, so depending on how vintage your car is, it may be more susceptible to corrosion.
No matter how it got there, if you've got rust problems, you'll want to consider car rust repair before it spreads and compromises the vehicle's structural integrity.
But before you can perform any repairs, you must prepare the vehicle, and with vintage cars, there are a few unique challenges to consider.
Thankfully, JEGS has your back with this complete guide to prepping your vintage car for rust repair.
In this section, we'll review what to consider before starting a DIY rust repair project on a vintage car. From assessing the scope of the damage to the importance of proper prep, we'll provide you with the know-how to confidently tackle your restoration.
Before starting any vintage car rust repairs, you’ll want to examine the vehicle so you know what to expect in terms of scope. The last thing you want is to start a project that’s more than you can handle.
While inspecting, note that surface rust often appears as orange or brown patches, while flaky or pitted areas indicate a more severe problem. Look for bubbled paintwork or patches where the paint has fallen off, as they may hide corroded areas underneath.
Start with the undercarriage, a hotbed for corrosion due to frequent exposure to moisture and road grime. Pay attention to critical areas like the chassis, suspension, and exhaust.
The chassis is basically the vehicle's backbone, while suspension components endure constant movement and help support its weight. If either is affected by severe rusting, it may compromise structural integrity and safety. As for rusty exhaust components, these can possibly leak harmful fumes into the cabin.
Next, move on to the exterior body, looking closely around wheel arches, lower door edges, and areas around the lights. These regions are susceptible to corrosion due to constant exposure to the elements. These areas also tend to have more seams and crevices, which can collect water and promote corrosion.
Why is proper prep such a big deal? Because if even a small amount of surface rust remains, it can spread and eat away at your car, impacting its overall safety.
Knowing how to stop rust on car surfaces involves gathering the needed equipment, sanding the affected area down, cleaning it, then applying a prep solution (more on this process later). With these completed, you can move on to painting and polishing the vehicle.
If you skip any of these steps, the repair will look bad, and the corrosion will return. For example, you could simply paint over a rusted area, but the corrosion would just eat through that new paint layer, spread further, and look terrible.
By properly preparing your car for rust repairs, you not only ensure that no trace of corrosion is left behind but lay a solid foundation for future repair. This safeguards your vehicle's structural integrity and helps maintain its timeless appeal.
Repairing rust on a vintage car is not always a simple project. The type of repair required largely depends on how severe the rust damage is.
If it's surface rust, some basic sanding and a fresh coat of paint may be all that's needed. However, if the rust has deeply penetrated the metal, you may need to cut out sections of the body and replace them. For most vintage car owners, this is no easy feat. Learning how to fix rust spots on car bodies, especially vintage ones, requires a lot of patience, some skill, and a commitment to seeing the job through to the end.
Also, note that rust often extends beyond what you can see, so you may uncover further damage once you start the repair process. With all of this in mind, you can see that this kind of work requires a lot of patience, some skill, and a commitment to seeing the job through to the end.
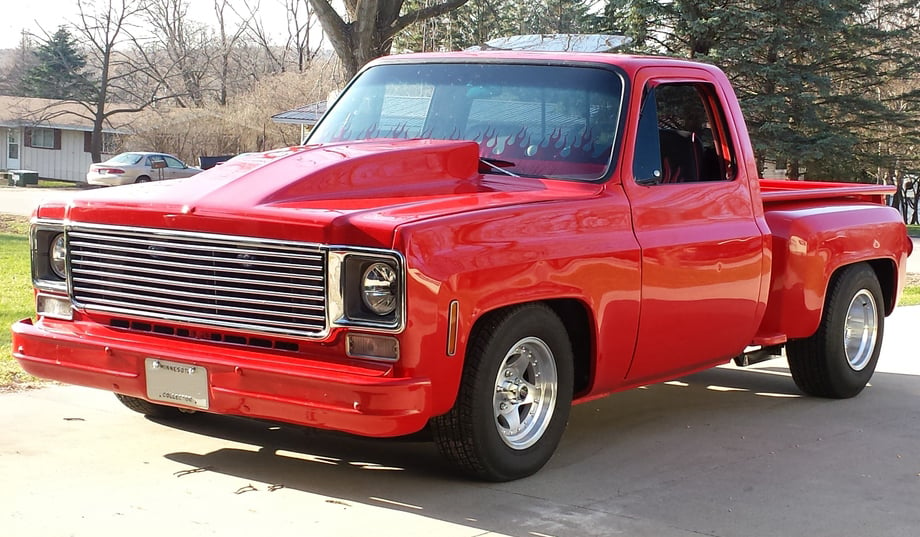
Despite the above challenges, successfully restoring a vintage car's former glory can be incredibly rewarding.
So, how do you prep a vintage car for rust repairs? The basics involve:
This section explains each of these steps in detail.
The first step to prepping a vintage car for rust repair is ensuring you have all the needed equipment. Start by researching what you'll need and where to find it, considering whether any vintage-specific tools or materials will enhance the authenticity of the restoration.
A basic checklist might include:


For after the prep work, you'll also need to locate paint in the desired color and clear coat to protect the paint job. Some jobs may even require specialized tools like welding equipment.
Sign up now to join the JEGS email newsletter and be the first to learn about new products, special deals and e-mail only offers!
Start by ensuring you're wearing all necessary safety gear. Then, apply adhesive remover or rubbing alcohol to the affected areas. This will remove any wax or oils that could potentially contaminate the bare metal.
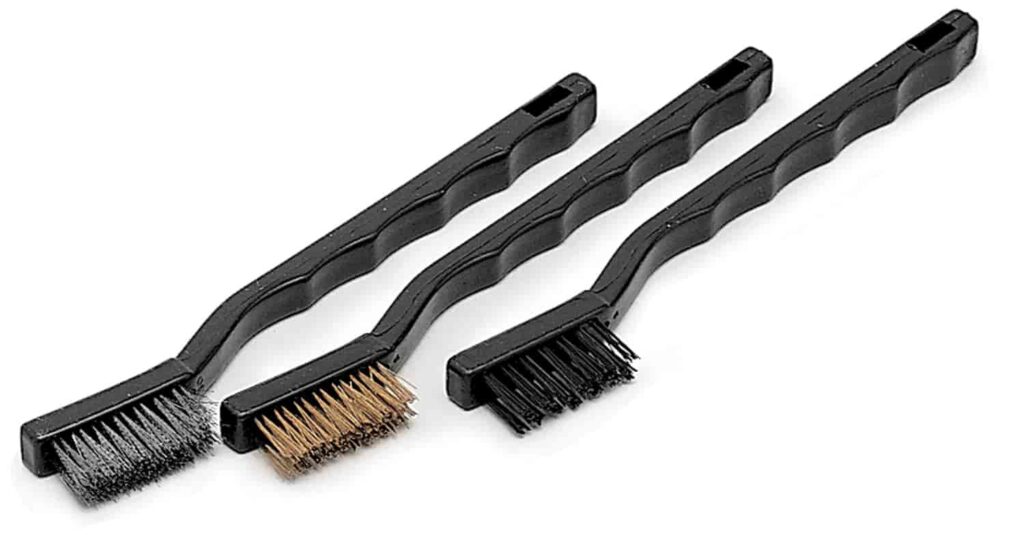
Next, gently clear away loose rust, flaking paint, and accumulated debris using sandpaper or a wire brush. Work your way down to the bare metal, taking care to remove every last bit of rust so the corrosion doesn’t return. Don’t tear into the metal, but make sure it’s exposed.
For sandpaper, we suggest a grade ranging from P80 to P200, depending on the severity of the rust damage. Starting with a coarser grade makes scraping away the corrosion easier, and as you approach the bare metal, you can shift to a finer grade such as P300-P400.
With the metal exposed, it's time to clean the sanded area thoroughly. This step is crucial for ensuring the repair materials adhere to the body in the later stages of the repair.
Use a clean cloth or compressed air to remove any remaining dust, debris, and residue from the surface. Pay special attention to hard-to-reach areas and crevices where rust might be hiding.
This can be an intricate process, particularly with vintage cars with complex bodywork. Being particular about a clean and smooth surface is key; otherwise, the final results may look bad. Only when you are certain that the surface is free of any contaminants should you proceed to the next step.
The next step is to choose and apply a rust converter or prep solution, a crucial element of rust repair. This chemically transforms any remaining rust into a stable, paintable surface, preventing further corrosion. Choose a suitable solution, ensuring it's specifically designed for automotive applications.
Carefully follow the instructions when applying the solution, which usually involves spraying the affected area and then allowing it to dry.
Allow ample time for the solution to penetrate deep into the remaining rust and convert it into a stable surface. This preparation phase is critical because it inhibits rust reformation, promotes durable paint adhesion, and improves the overall outcome of the rust repair process.
With the above steps completed, the prepping process is finished, and you can move on to the repair.
The exact repair steps depend on the damage. Some projects may require adding body filler to fill in corroded holes. If there are any larger holes, you may need to add a specialty wire mesh to strengthen the panels, or even cut out entire sections.
Once the rust converter has fully cured and any holes have been filled, it's time to apply a quality automotive primer. This additional layer further seals the metal against rust and provides an ideal surface for paint adhesion.
To wrap up, prepping your vintage car for rust repairs entails sanding away every last bit of corrosion, thoroughly cleaning the affected area after, and applying specialized prep solutions to prevent further issues.
Despite the challenges, restoring your vintage car's charm can be a truly rewarding experience.
When searching for the right equipment for your car rust repairs, be it protective equipment, sandpaper, prep solution, primer, body filler, etc., JEGS is your go-to resource. Contact us today or complete your order online to begin your vintage car restoration project.