Sign up now to join the JEGS email newsletter and be the first to learn about new products, special deals and e-mail only offers!

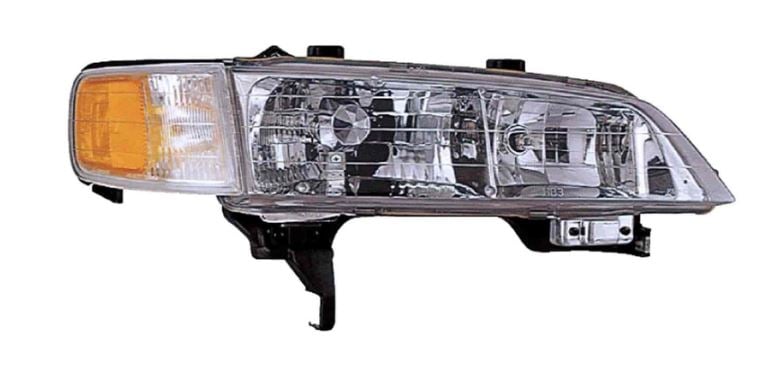
Aside from illuminating what lies ahead, headlights also allow oncoming traffic to see you when visibility isn’t ideal. The headlights consist of a bulb protected and covered behind a clear lens. In most cases, this exterior lens is made of polycarbonate plastic.
Over time, exposure to sunlight and UV rays can oxidize the plastic, causing it to develop a yellowish color and become hazy. This can affect your car’s appearance and the headlights’ effectiveness. Luckily, there are some measures you can take to reduce the extent of oxidation and restore your headlights. In this article, we’ll walk you through everything there is to know about cleaning the headlights and how to restore headlight lenses.
Clean headlights can play a crucial and significant role in reducing the risk of an accident when visibility is low. A report by the National Highway Traffic Safety Administration (NHTSA) found that even though we do only 25% of our driving at night, it’s when 50% of fatal accidents occur.
When the headlights lens on your car oxidizes, it can become almost translucent, affecting how much light passes through, and diffusing it into a less focused beam. A hazy headlight lens will adversely affect illumination, putting yourself and other motorists you share the road with at risk.
There are multiple approaches you can take to clean your headlights. The most straightforward would be buying a headlight cleaner or restoration kit with everything you’ll need to finish the job. Typically, this includes the cleaning product or solution, a scuff pad, brushes, and even gloves to keep it off your skin.
You can avoid this by cleaning and restoring the headlight lens for a few minutes. A headlight lens restoration will also help eliminate grime, dirt, and other debris that may have accumulated from regular driving.
While it’s arguably the best way to restore your headlights, a cleaning kit may not be necessary if you already have some polishing compound and other basic supplies. You’ll only need sandpaper in different fine grits, masking tape, and microfiber towels.
Another affordable yet effective DIY method is simply using toothpaste with baking soda to polish the headlights. It might be the least effective of the multiple methods, but it’s sure to bring about a noticeable improvement in the clarity of the headlight lens.
Sign up now to join the JEGS email newsletter and be the first to learn about new products, special deals and e-mail only offers!
Once you’ve decided and gathered the supplies you will use to perform a headlight lens restoration, the process is pretty straightforward. You should be able to do it at home in just a few minutes. Here’s a step-by-step guide on how you can go about doing so.
The first step to restoring your headlights to as close to their original condition as possible is to clean them with soap and water. Warm water will help get rid of grime and dust more effectively. This isn’t a step you should skip, even if the headlights look like they don’t need a wash. There will be dust and particles that may not be visible to the naked eye, and polishing or waxing the lens without washing them away can do more harm than good.
We recommend masking tape around the lens edges if you use sandpaper or any other abrasive to restore the headlights. Doing so will prevent accidental scratches on the painted parts surrounding the headlights. It’s also a good idea to carry out this process away from direct sunlight and, ideally, in some covered place to avoid dust from settling on the lens.
If there’s heavy oxidation, sandpaper will do an excellent job reducing its severity. The grit of sandpaper you should use will depend on the level of oxidation, but you should start with a more abrasive one and gradually work your way to using a finer grit. In terms of grit number, this will mean starting with a lower grit number and then increasing to a higher grit paper.
Usually, starting with 400-600 grit sandpaper should be sufficient. Before you begin sanding, wet the sandpaper and the lens you’ll be working on. Ensure that the sandpaper and lens surface is always wet. Otherwise, it could cause heavy scratches. Sand the surface in a back-and-forth motion, sticking to one direction. When you move to the next grit level, say 800-1000, you can switch the direction you’re sanding in. Finish it off with an even finer grit, like 2000-grit sandpaper.
If you want to speed up the process, you can use an orbital sander. Remember that the sander’s high-speed rotations will cause the lens and paper to dry quicker, so it’s important to spray on some more water whenever necessary.

Once the sanding is done, you can rinse the lens with some warm water and wipe away any residue with a microfiber cloth. Then, apply some polishing compound to the headlight lens and work it into the plastic using a cloth in a circular motion. Again, you can use a power tool for quicker and more effective results. If you have a power drill, you can get dedicated headlight restoration kits, including multiple sanding discs of different grit levels and buffing pads.

The final step in the process is applying a protective coating to seal the polish and prevent further damage from UV rays. You can use wax or a dedicated UV sealant. In the latter’s case, ensure you read and adhere to the instruction for applying it to the lens. Adding too much can cause it to build up on the lens and undo all the hard work you’ve just put in.
If you follow these steps, you should end up with visibly cleaner and clearer headlights. While a DIY method will bring sufficient improvement, a restoration kit designed for cleaning headlights will get slightly better results. In any case, having cleaning headlights is vital, both from a safety and aesthetic standpoint, so don’t wait to do the necessary for your car.


