

Sign up now to join the JEGS email newsletter and be the first to learn about new products, special deals and e-mail only offers!


If you want to start maintaining your car by yourself, learning how to change a car battery is a significant first step, as it only requires a few tools and can be done in 15 to 30 minutes, even by a beginner DIY mechanic. If you are ready for this challenge, read along and find out what tools you’ll need for this procedure and the steps to follow when changing a car battery.
Car battery replacement is a job that typically requires just a battery and a few essential tools. These include the following:
You can find all these tools, including car batteries, at JEGS. Our experienced sales staff will be happy to assist you if you need help selecting the right battery or tools.
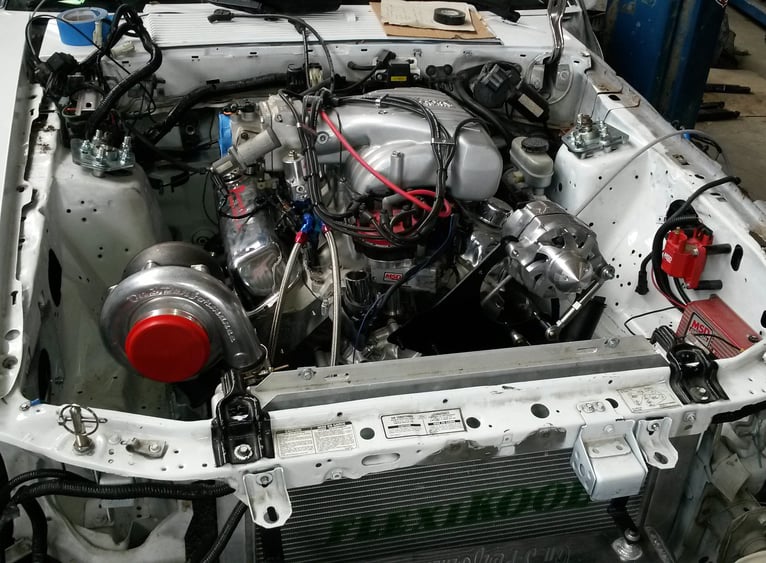
The battery is usually in the engine bay, held in place by a battery bracket, and protected by a plastic cover, which you need to remove first to access the battery itself, including the terminals. However, in some cars, the battery may be a little bit more hidden and located in the trunk (either in one of the wheel wells or under the floor) or under one of the seats.
Each battery has a positive (+) and negative (-) terminal, labeled accordingly. They are also often distinguishable by the color red for positive and black for negative. Use an appropriately sized wrench or socket to loosen the bolts or nuts of the two terminals. Start by removing the cable from the negative terminal first, and only then remove the positive side. While doing this, you should avoid putting the cables in contact with any metal parts of the car, as this can create sparks.

Batteries are typically held in place using clamps and brackets, which might use a clip mechanism or bolts to hold them in. Remove the brackets first, and then you can take the battery out. Keep in mind that the battery, despite being compact, is quite heavy, typically anywhere from 20 to 40 pounds for a standard automotive battery.
Clean the battery terminals once the battery is removed to ensure a proper connection with the new battery. Remove any corrosion or dirt buildup. A wire brush works well for cleaning the terminals, but you may also use a battery terminal cleaner, which effectively removes any buildup.
Sign up now to join the JEGS email newsletter and be the first to learn about new products, special deals and e-mail only offers!
Place the new battery into its dedicated tray. Ensure it is properly aligned and secure with the appropriate brackets or clamps.
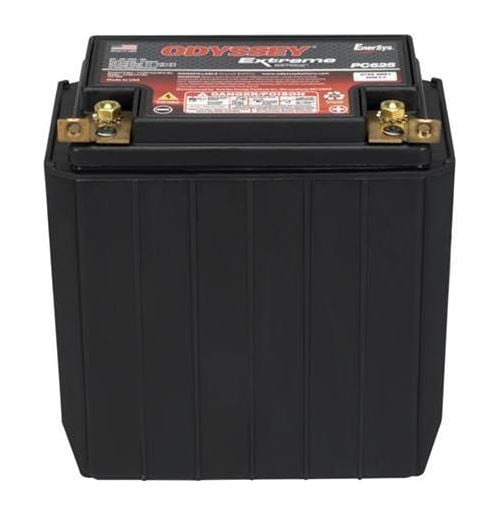
Connect the battery cables back to the battery. Start with the positive (red) cable and connect it to the positive terminal. Then, attach the negative (black) cable to the battery's negative terminal. Tighten the nuts or bolts that keep the cables attached securely. Ensure they are tightened using an appropriate socket or wrench, but do not overtighten them.

You may apply an anti-corrosion spray or battery protector spray on the battery terminals as an optional step. As the name suggests, this helps prevent the terminals from corroding and makes your next battery change simpler, as there will be no or very little corrosion to treat.

For newer vehicles, especially ones equipped with the start-stop function, the battery may need to be registered with the ECU using an OBD-II tool. The exact procedure varies from manufacturer to manufacturer. It is best to leave this step to a dealership or a professional mechanic, especially because of the specialized tools required. If you do not follow this step, you risk quick degradation of the battery and possibly malfunctioning electronic systems.

If you are a beginner, taking a picture of the old battery before disconnecting it is a good idea. This may help you remember the position the new battery needs to be in as well as the orientation of brackets. Taking photos will last even longer if you decide to perform more advanced car repairs.
Some vehicles may have a code-protected radio or navigation system. If this is the case with your vehicle, ensure you know the code in advance, as it will be required once you replace the battery.

Remember that the vehicle's electronics may need some time to re-learn after being cut from power. For example, some Mazda models might have the traction control warning light illuminated and require system calibration, which is done by turning the steering wheel from lock to lock. On other vehicles, you may notice that the engine idles roughly because of the ECU. This resolves itself after a few miles of driving, but it‘s good to remember.
Battery chargers are instrumental pieces of equipment. Even if you have a fresh battery, it might get discharged if you leave your car standing for weeks. If you expect to leave your vehicle without use for a prolonged period, connect the battery to a trickle charger, which will recharge and maintain the battery charge. At times when you might not have a battery charger on hand, having jumper cables and knowing how to use them can be invaluable.
Looking for a new battery, battery charger, or tools to change the battery in your car? We’ve got what you need at JEGS. Shop today among the popular brands we carry, or ask one of our staff for advice on getting the job done right.


